A restaurant kitchen is a small factory with a very short production run. Raw product comes in one door and finished plates leave through another, and everything between them is a question of distance, heat and traffic. Get the arrangement right and a small crew handles a Friday rush calmly. Get it wrong and the same crew spends the night walking into each other.
Most layouts are planned from the equipment list: here is what we are buying, where can it fit. The better method runs the other way. Start with how food moves, and let that decide where the equipment goes.
Read this if you hold a lease, have a concept and no clear idea where the line goes. You can skip it if a design-build firm is already producing stamped drawings; use this as a list of questions for them.
Follow the food
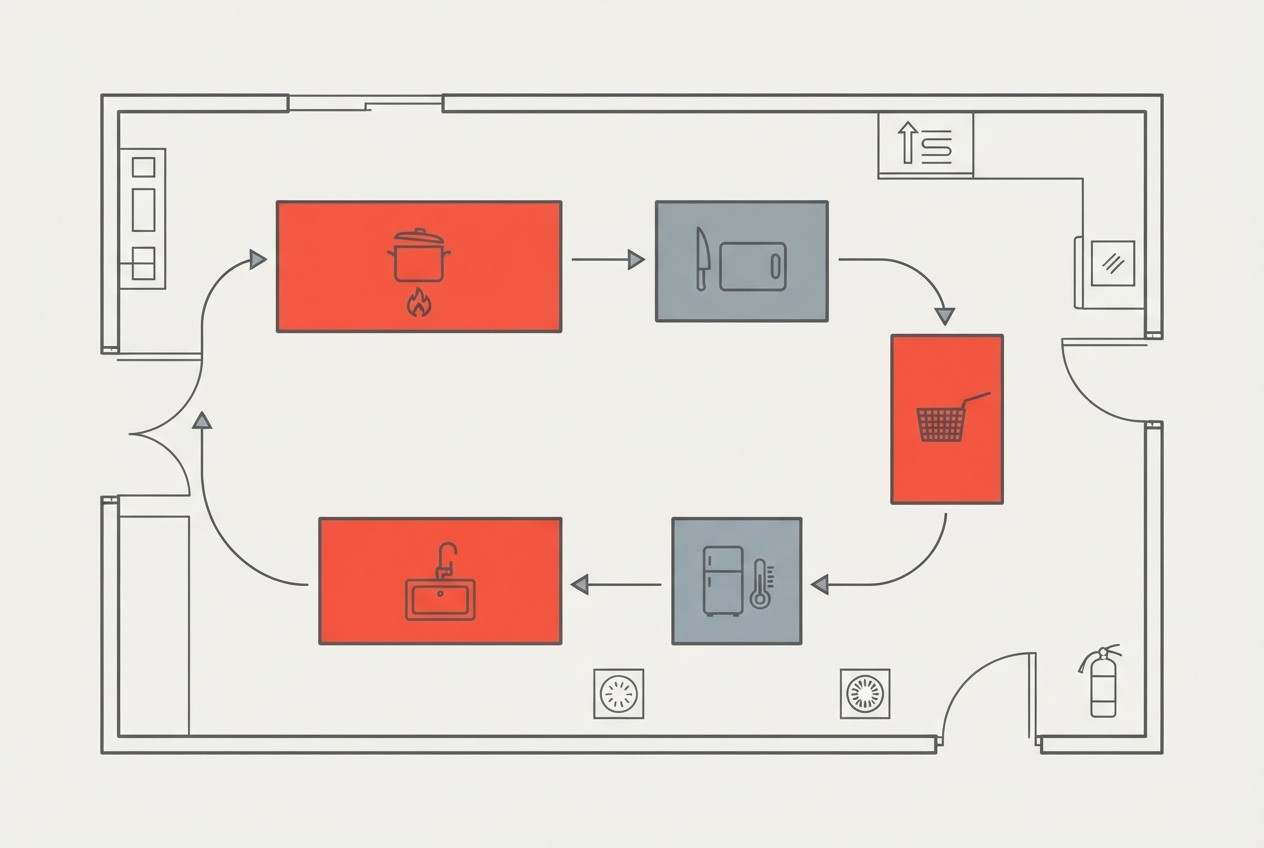
Every dish follows a path from delivery to guest, and a good layout makes that path short, one-directional and uncluttered. The stages are always the same:
- Receiving. Deliveries arrive and are checked. This needs a door that trucks and hand trucks can reach, a clear staging space and a scale, and it should not require crossing the cooking area.
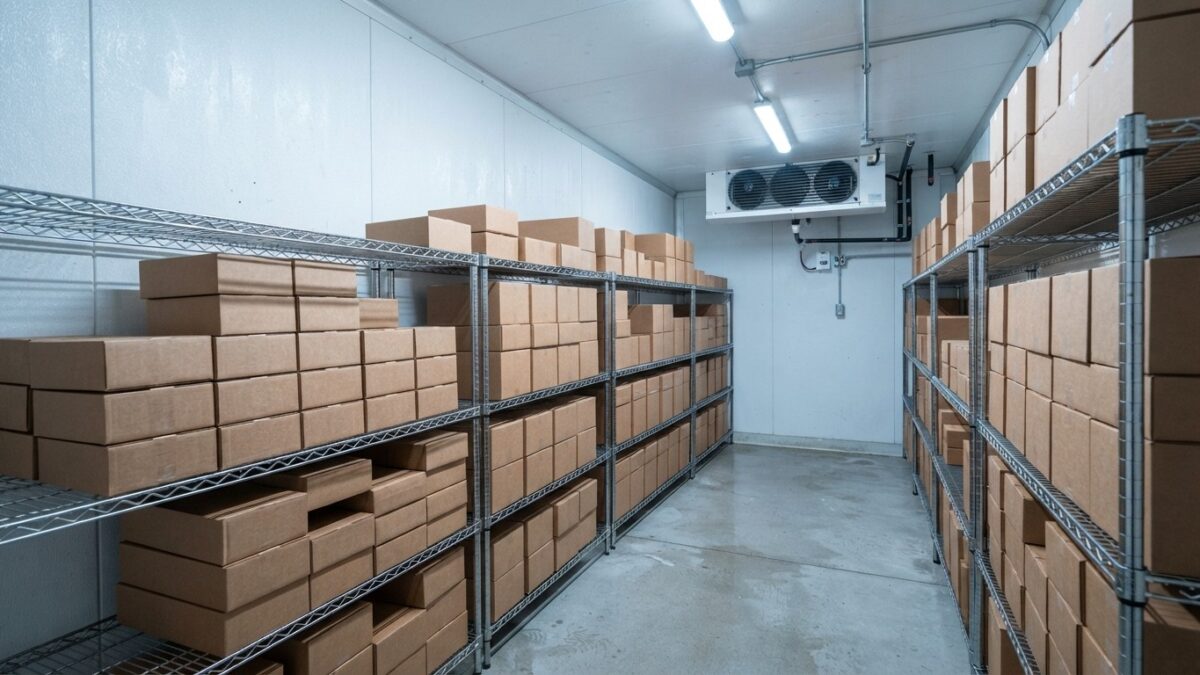
- Storage. Cold, frozen and dry storage. Cold storage ideally sits close to receiving and close to prep, because product moves in and out of it all day.
- Prep. Washing, cutting, portioning, mixing. This is the quietest work and the most space-hungry, and it belongs away from the hottest part of the line.
- Cooking. The line: ranges, fryers, grills, ovens. It needs ventilation overhead and the greatest power and gas supply.
- Plating and pass. Where finished plates are assembled and handed to service staff. It should sit between the kitchen and the dining room with a clear sight line.
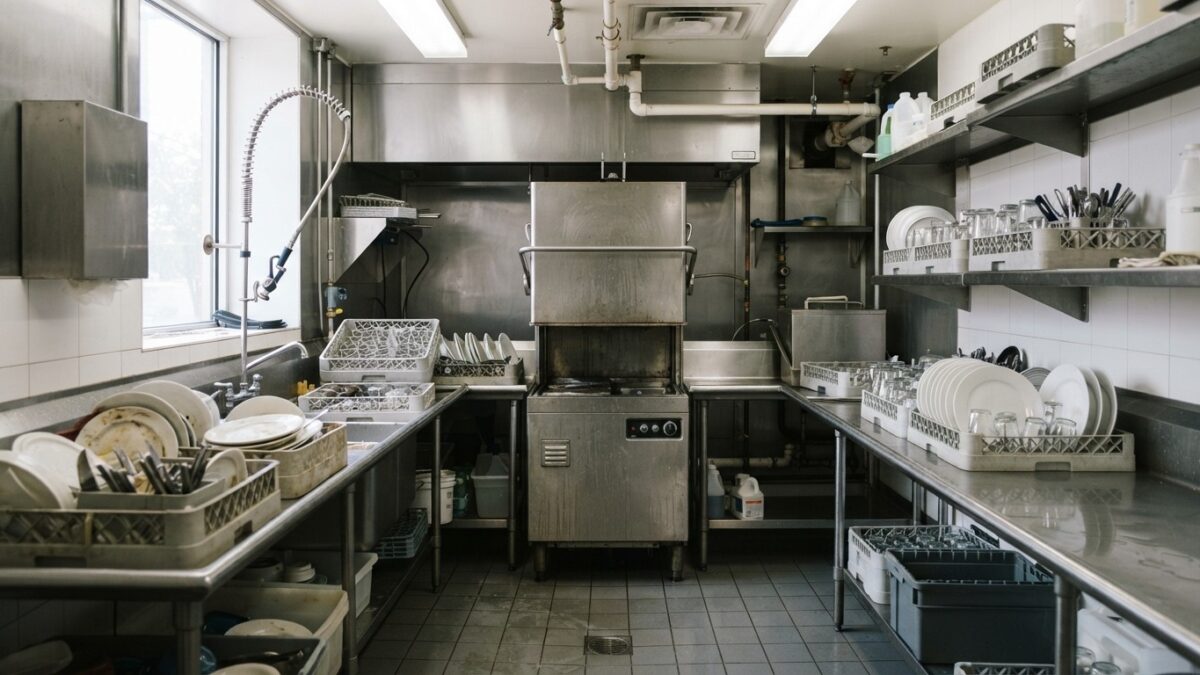
- Dish return and washing. Soiled ware comes back from the dining room. It must be kept separate from clean product and clean ware.
The principle behind the order is cross-contamination. Raw food, ready-to-eat food and soiled dishes should not cross paths where they can be avoided. A layout that sends dishes back through the prep area, or that puts raw protein prep beside a salad station, builds a hazard into the floor plan that no amount of training fully removes.
Common layout shapes
| Layout | How it works | Suits | Watch for |
|---|---|---|---|
| Assembly line | Stations in a row from raw to finished along one wall | Quick service, high repeat menus | Needs length; a bottleneck stops everything |
| Galley | Two parallel runs with a central aisle | Narrow rooms, most small restaurants | The aisle becomes a collision zone at peak |
| Island | A cooking block in the centre with prep and storage around it | Large, open rooms | Needs generous space and sight lines |
| Zone | Separate areas by task: hot, cold, bakery, grill | Larger, varied menus | Needs more staff and more duplicated equipment |
| Open kitchen | Cooking visible to guests | Concepts that sell the kitchen | Noise, odour and appearance become part of the dining room |
For many small independent restaurants the real answer is a modest galley, because that is the shape the leased room allows. What matters is not the label but whether the flow of food within it is clear.
What is fixed and what is flexible
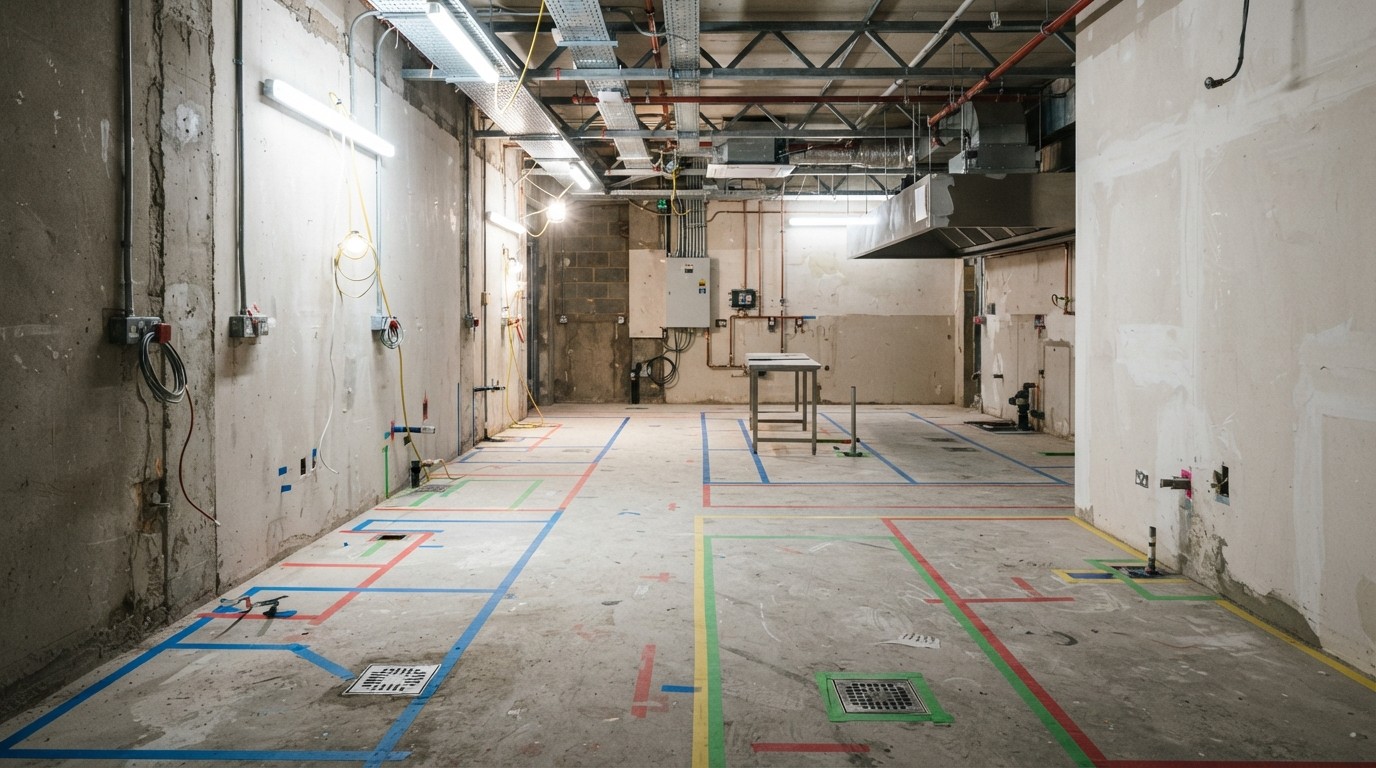
Before drawing anything, find out which elements of the room cannot move, because they constrain everything else.
- Floor drains and the grease interceptor. Moving them means breaking up the slab, and wet equipment must sit where drains are.
- Gas and electrical service entry points. The distance from the meter to the line affects installation cost and where heavy equipment can go.
- Hood and exhaust location. Ventilation is expensive and ducted to a specific point. The cooking line goes under the hood, not the other way round.
- Make-up air. What goes out through the hood must be replaced. This affects the comfort of the kitchen and sometimes drives the layout.
- Structure and doors. Columns, bearing walls, door swings and the delivery entrance.
- Handwashing sinks and required fixtures. Your local health authority specifies where handwashing sinks must be and how many.
Hood and fire-suppression design, gas and electrical connections and drains are licensed trades with permits and inspections, so involve licensed contractors early. Ask your local health department about plan review before you finalise the layout. Many jurisdictions require a submitted plan to be approved before construction, and changes after approval cost both money and time.
Distance is the hidden cost
Walking is the largest invisible cost in a kitchen. A cook who walks fifteen feet to the cooler fifty times a night has walked a very long way by closing time, on a hard floor, carrying heat. Cut the distance and you have raised capacity without hiring anyone.
List the five movements that happen most often in your service: pulling from the cooler, reaching the pass, getting to the fryer, grabbing plates, checking the ticket. Measure how far each one takes the cook. Then move things until the most frequent movements are the shortest. A cooler door within a step of the line is worth more than an elegant arrangement of prep tables.
Group equipment by task rather than by type. The grill, the nearest reach-in with grill proteins, the plates and the pass belong together. Putting all the refrigeration on one wall because it looks tidy forces everyone to cross the room.
Aisles, traffic and the pinch points
Aisle width decides how many people can work at once. Too narrow and two cooks cannot pass back to back. Too wide and everything is further apart than it needs to be. Aisles on a working line are commonly planned somewhere around three to four feet, but the right figure depends on your jurisdiction’s requirements, accessibility rules and how many people work there, so confirm it with your plan reviewer.
Find the pinch points on paper: the pass, where servers and cooks meet, the dish return, which often crosses the main aisle, and the door to the walk-in. Two flows that cross at a pinch point will collide at peak. Where possible, separate them, for example with a dedicated dish return path that does not run through the cooking line.
The walk-through test
A drawing can hide problems that a full-size mockup exposes in minutes. This is the cheapest insurance in the whole project.
- Mark the floor. Use tape to outline every piece of equipment at its true size and position, and cardboard boxes for the taller items, in the empty room.
- Write a realistic rush. Take twenty tickets from your menu in a plausible mix and put them in order.
- Walk it with the team. Have the cooks work through the tickets by walking the paths, reaching for imaginary product, and calling out what they need.
- Watch for collisions and detours. Note every time two people want the same space, every time somebody has to backtrack, and every time something is out of reach.
- Move the tape, not the steel. Adjust the mockup until the route flows, then redraw the plan.
- Test the dish path separately. Carry a stack of imagined plates from the dining room door to the machine and see what it crosses.
Include the people who will work in the kitchen, especially someone who has worked the line during a busy service. Their objections after an hour in a taped-out room are worth more than any consultant’s drawing.
Keep it flexible
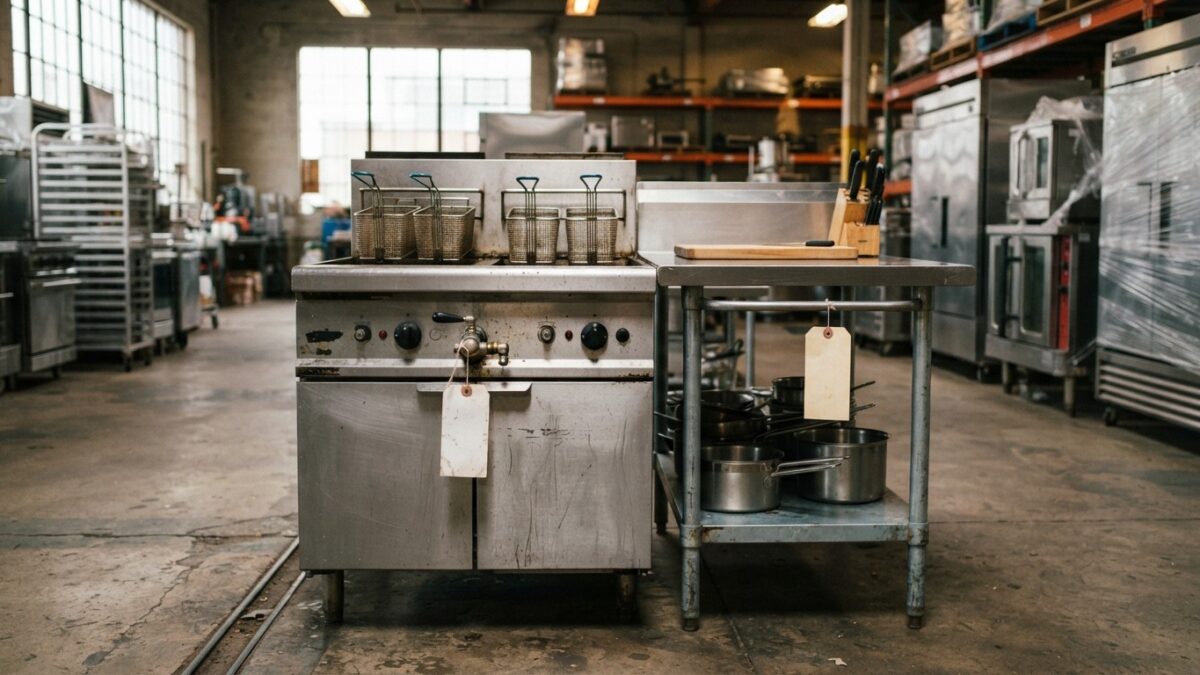
Your first menu is not your final menu. Put equipment on casters or locking wheels where gas and electrical connections allow it, using connectors approved for the purpose and installed by a licensed contractor, so the line can be rearranged later. Leave an empty bay on the cooking line if the budget allows. Plan prep tables that can take a different machine. A kitchen designed with a little slack absorbs a menu change. A kitchen designed to the last inch needs rebuilding.
Finally, keep records of what you decide and why: the plan, the dimensions, the equipment schedule and the utility requirements. A good plan is a tool you will use again when you change a piece of equipment, apply for a permit, or open the next location.
Myths worth retiring
Myth: A bigger kitchen is a better kitchen.
Reality: Distance costs time every shift. A compact kitchen with short routes often outperforms a large one with long walks.
Myth: The layout is fixed once the drawing is approved.
Reality: Plan review fixes the plan, not the workflow. Test with tape, and keep equipment mobile where utility connections and licensed connectors allow it.
Myth: An open kitchen needs the same plan as a closed one.
Reality: It also needs quiet equipment, clean sight lines and a plan for odour and noise, because the guests are now part of the layout.