Cold storage is the part of a restaurant that you notice only when it fails. A cooler that is too small turns every delivery into a puzzle and every service into a series of trips to a second location. A cooler that is too big wastes floor space and energy. And a cooler in the wrong place makes every cook walk further, every shift, for years.
Sizing is not mysterious, but it works from how you buy and cook rather than from a number on a catalogue page.
Short answer: size cold storage from your fullest delivery day, not your average; put it close to receiving and prep and away from heat; and keep reach-ins on the line for what the next few hours need.
Walk-in or reach-ins?
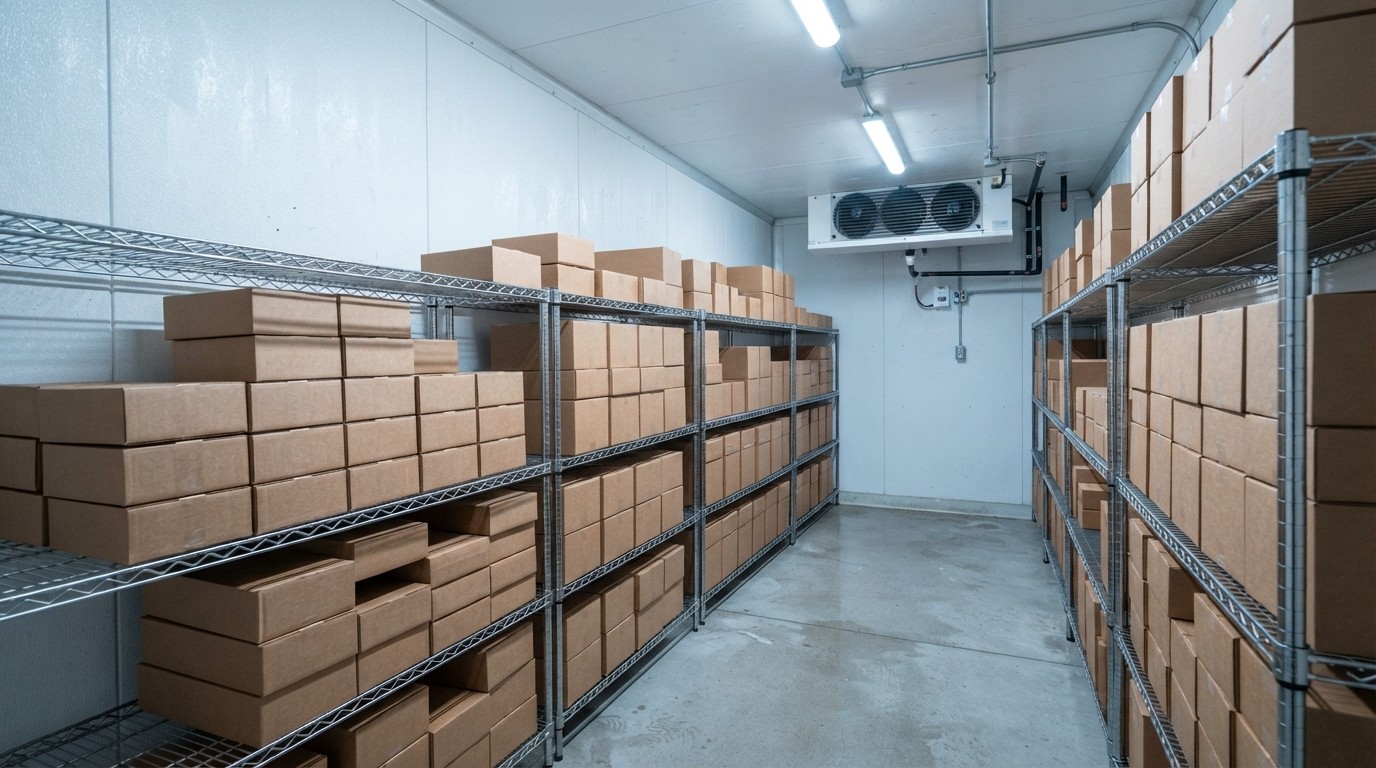
A walk-in is a refrigerated room, built from insulated panels and cooled by its own refrigeration system. Reach-ins are refrigerated cabinets with doors, in single, double or triple widths, and undercounter units sit beneath work surfaces.
| Factor | Walk-in | Reach-in |
|---|---|---|
| Capacity | Large; takes bulk and pallet-sized deliveries | Limited; suits daily-use items |
| Access during service | Requires leaving the line | At hand on the line |
| Temperature stability | Large thermal mass; recovers slowly after door openings | Smaller volume; recovers faster but opened constantly |
| Footprint | Large and often fixed | Modular and movable |
| Installation | Panels and a refrigeration system, usually a contractor’s job | Delivered and plugged in |
| Flexibility | Can be extended or reconfigured with panels | Add or move units as needs change |
| Redundancy | One failure affects everything inside | Several units spread the risk |
Most kitchens use both, and the question is the right mix. A walk-in holds the bulk, the weekly delivery and prepared stock. Reach-ins and refrigerated prep tables hold what the line needs for the next few hours, so that cooks reach for a shelf beside them rather than a room across the kitchen.
A small café or a food truck may need only reach-ins. A larger restaurant with deliveries once or twice a week and a broad menu will find a walk-in indispensable. The tipping point is usually how much you buy at a time and how often it arrives.
Sizing from how you operate
Resist the temptation to size from covers or square footage alone. Work from product and deliveries.
- List what you hold cold. Proteins, dairy, produce, prepared items, beverages, and anything else that must stay refrigerated or frozen.
- Estimate the quantity at the peak of the delivery cycle. The fullest your storage ever gets is the day after a big delivery before a busy weekend, not the average.
- Convert to storage units. Count the cartons, pans and containers you actually hold, and how much shelf space each takes.
- Add working room. Product needs air around it to cool, and people need space to move, rotate stock and clean. Packed solid, a cooler cools badly.
- Leave room to grow. Menus expand and volume rises. A cooler that is full on opening day is too small within a year.
Suppliers and refrigeration dealers have sizing guidance and planning tools, and a reputable one will ask you about your menu, delivery schedule and volume. Be wary of anyone who proposes a size without asking.
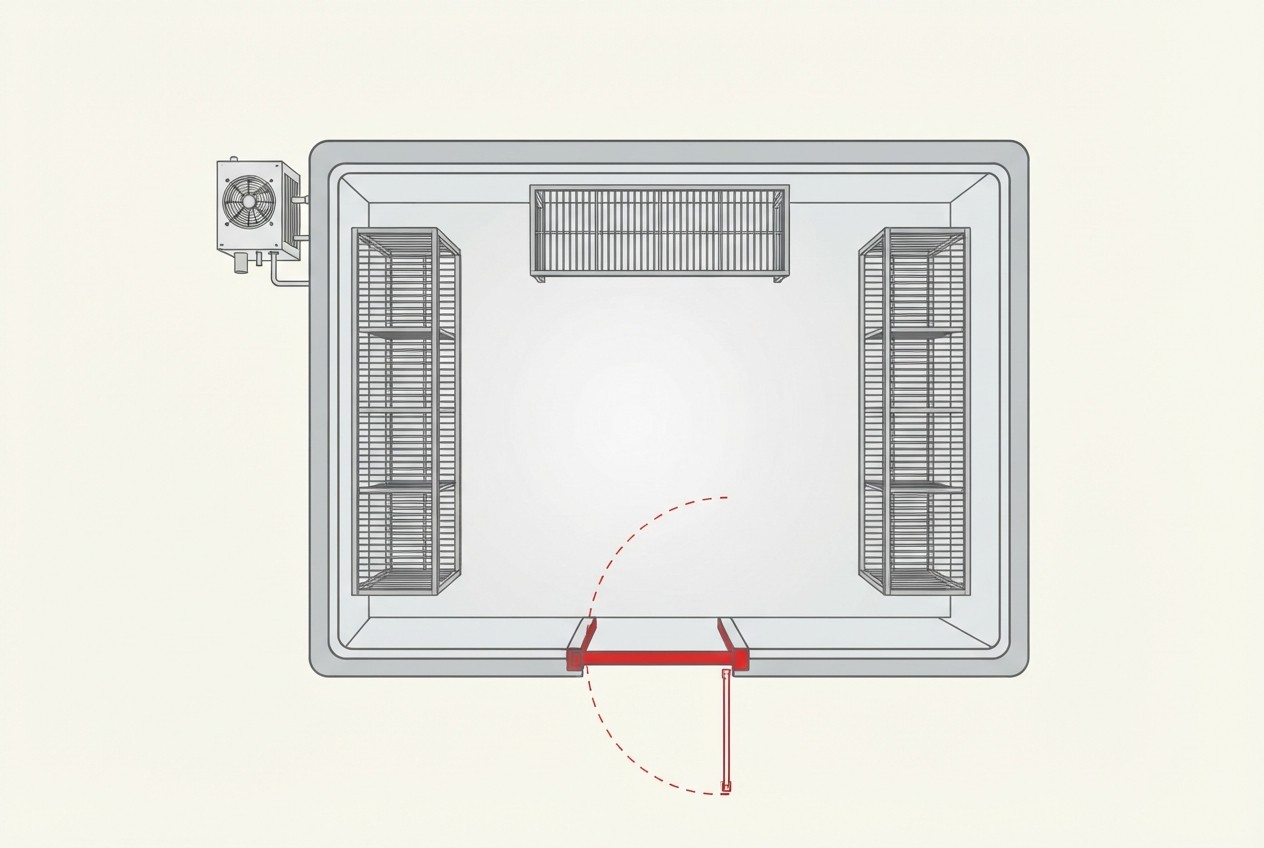
Where to put it
Placement decides how much work the cooler creates.
- Close to receiving. Heavy product should travel the shortest possible distance from the delivery door to cold storage, and it should not cross the cooking area to get there.
- Close to prep. Most of what comes out of the walk-in is going to prep. Keep that path short and uninterrupted.
- Away from heat. Refrigeration has to reject heat, and placing it near the cooking line or in a hot area forces equipment to work harder and shortens its life.
- Not in a pinch point. A door that opens into the main aisle blocks the aisle every time someone uses it. Check the door swing on the plan.
- With a floor that suits your workflow. Many walk-ins have an insulated floor panel that sits above the slab and needs a ramp for carts, while a floorless unit set on a flush, sloped and sealed slab allows carts to roll straight in. Each has trade-offs for cleaning and insulation.
Remote or self-contained refrigeration
The refrigeration system that cools a walk-in has two parts: an evaporator inside, which absorbs heat, and a condensing unit, which rejects it. Where the condensing unit sits matters.
A self-contained system keeps them together, often mounted on top of the box. It is simpler and cheaper to install, but it releases heat and noise where it sits, and it needs airflow clearance around it. A remote system places the condensing unit elsewhere, typically on a roof or outside wall, which moves the heat and noise out of the kitchen and can last longer in a cooler ambient environment. It costs more to install, because of the refrigerant lines.
Refrigeration installation, including refrigerant handling, electrical connection and any roof penetration, is licensed work for qualified contractors, and permits may apply. An outdoor walk-in has additional requirements for weather protection and a roof.
Energy and running costs
Refrigeration runs around the clock and is one of the largest energy loads in a restaurant. Several choices reduce it without changing what you store.
- Insulation quality. Panel thickness and quality of seals affect how much cold leaks out. Thicker, well-sealed panels cost more up front and less to run.
- Efficient components. Compare the energy ratings of units and ask about efficient fans and controls.
- LED lighting. Lights inside a cooler add heat, and LEDs add little.
- Strip curtains and auto-closing doors. They reduce the cold air lost each time the door opens, which is considerable in a busy kitchen.
- Keep coils clean. A dirty condenser forces the compressor to work harder and is the commonest cause of avoidable breakdowns. Make coil cleaning a scheduled task.
- Do not overload. Pack product so air can circulate, and do not put hot product in to cool unless the unit is designed for it.
- Keep door gaskets sound. A torn gasket quietly raises the energy bill every day.
Equipment specifications give energy figures, and your utility may offer programmes for efficient refrigeration. We do not state what any programme currently pays, since that changes. Ask your utility directly.
Temperature, monitoring and the health code
Your health authority sets the temperatures at which cold food must be held, and the equipment must be able to hold them in your worst-case conditions: a hot kitchen in summer, a full cooler, a busy lunch with the door opened constantly. Choose equipment rated for the ambient conditions where it will operate, and ask for a design that has some headroom.
Fit an accurate thermometer in every unit, placed where it measures the air product actually sits in. Consider a monitoring system that logs temperatures and alerts a phone if a cooler drifts, particularly overnight. A cooler failing at two in the morning is the most expensive kind of failure, and an alarm turns a lost inventory into a manageable repair.
A short buying checklist
- Have you listed what you hold cold and sized for the fullest delivery day, with room to grow?
- Have you checked placement against receiving, prep, heat sources and the aisle?
- Have you decided between self-contained and remote refrigeration, with a contractor’s input?
- Have you checked electrical capacity and clearances for the condensing unit?
- Have you confirmed what your health authority requires of the equipment and of temperature monitoring?
- Have you planned for a spare or a backup strategy for the day it fails?
The best cold storage is the kind you stop noticing: it holds what you buy, sits where you need it, and quietly does its job. Get the sizing from your actual buying pattern, and put it where food already moves.
What to do next
- List everything you hold cold and estimate quantities on your fullest delivery day.
- Mark the door swing and the condensing unit on your floor plan and check the aisle.
- Ask your health department what temperature monitoring it expects before you choose controls.